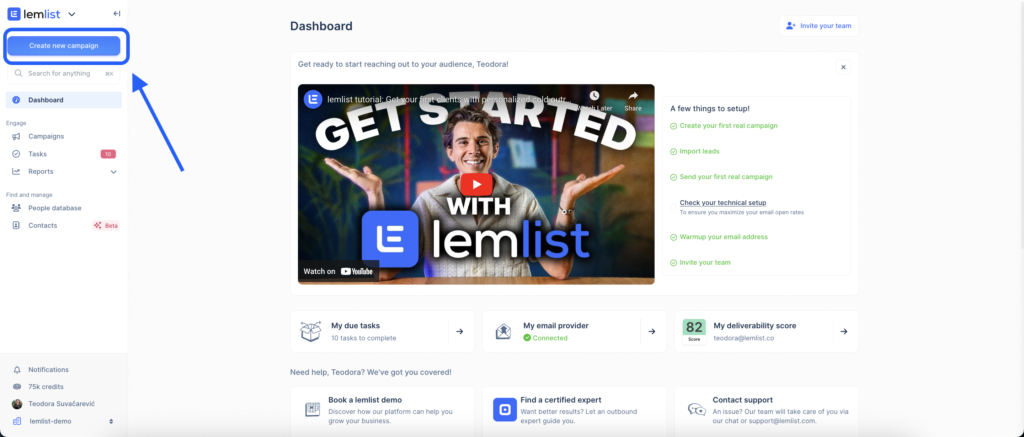
Launch your first campaign in lemlist
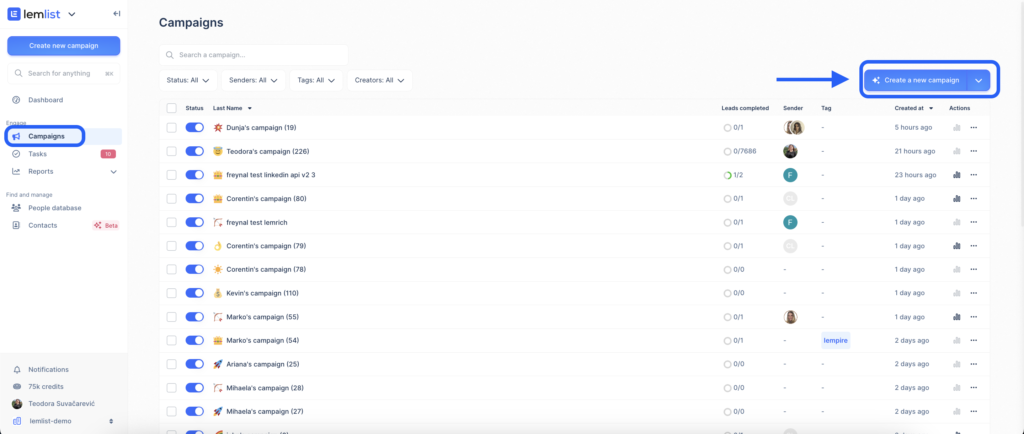
You can create campaigns manually in two ways:
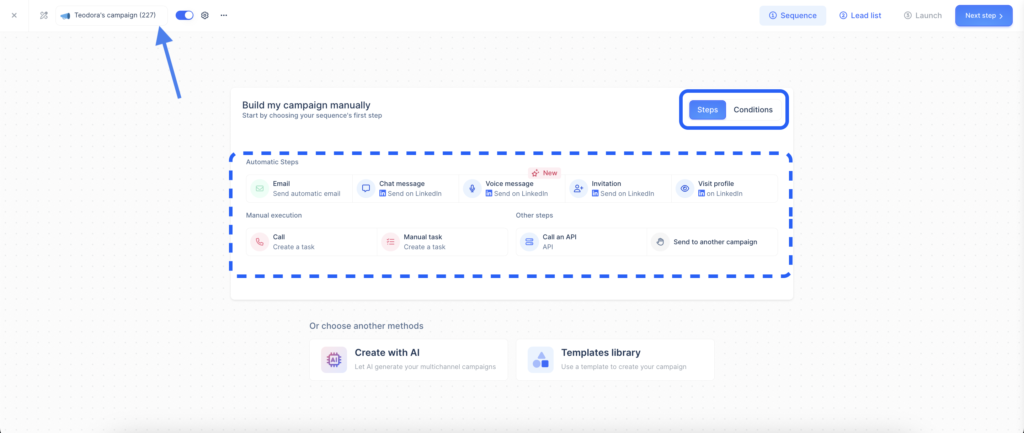
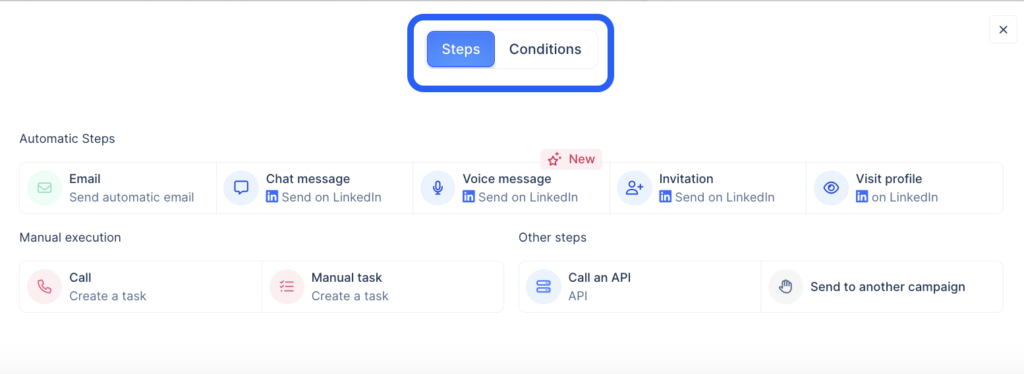
Either option will take you to the campaign editor, where you can:
- Change the name of your campaign.
- Choose whether to start with a step or a condition.
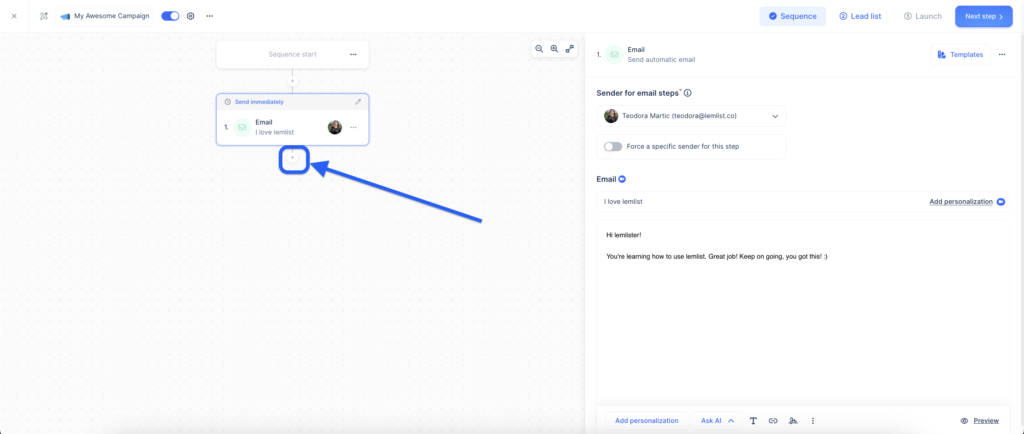
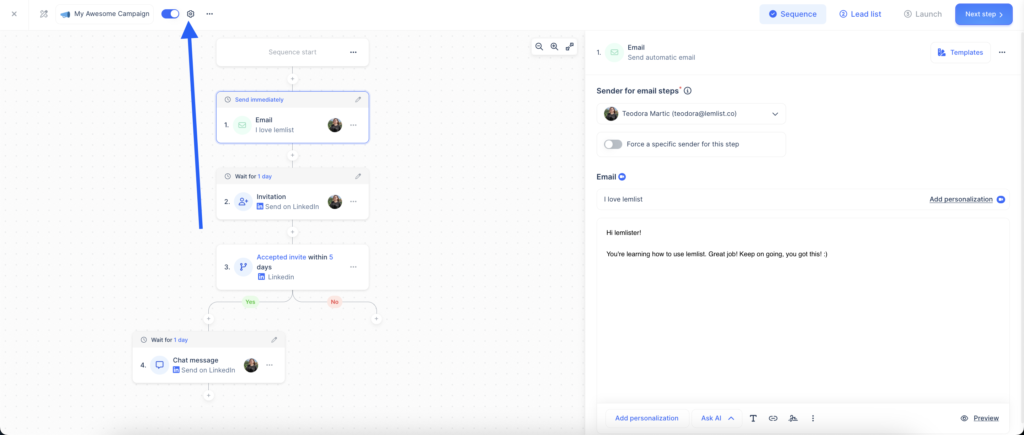
Setting up the first email step
Let’s start with an email step. Here, you can:
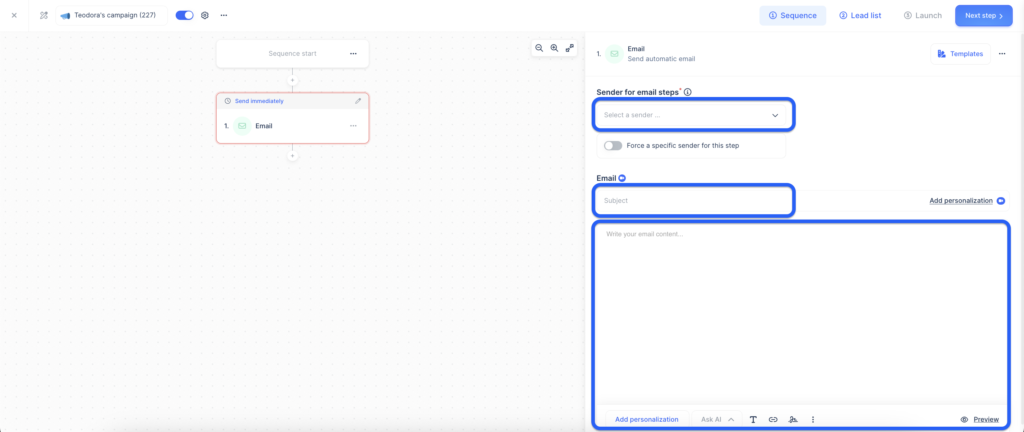
To add a follow-up step, click the + button and choose between a step or a condition.
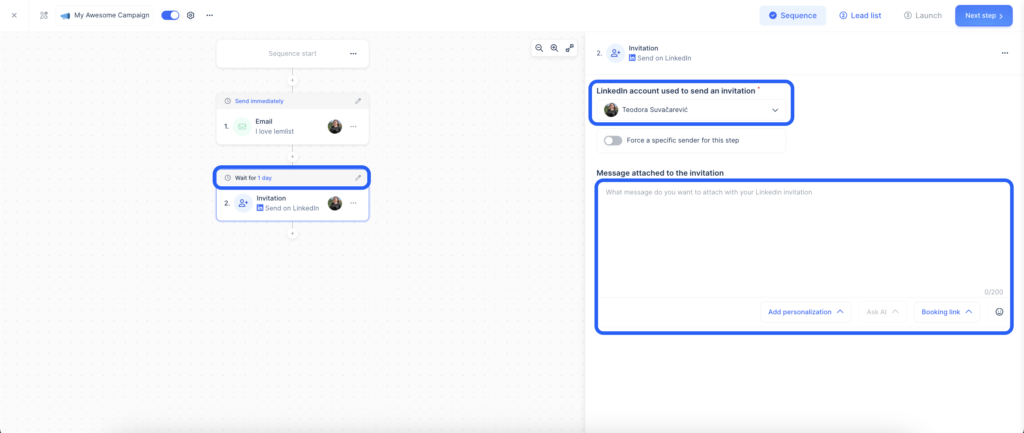
Adding a LinkedIn invite step
You can also add a LinkedIn invite step:
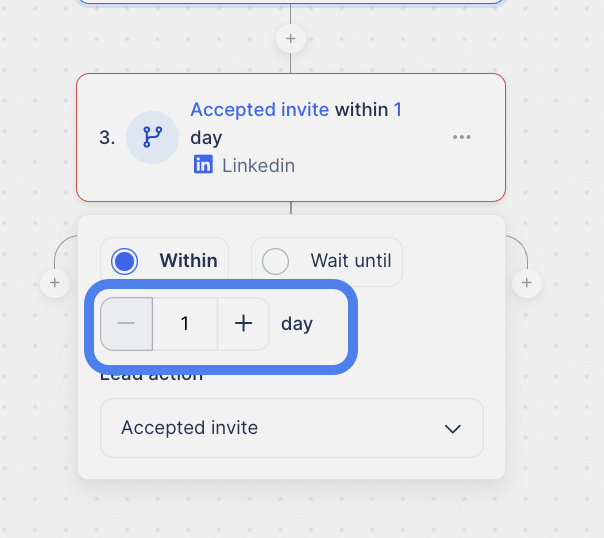
Adding conditions
Conditions allow you to create branches based on lead actions.
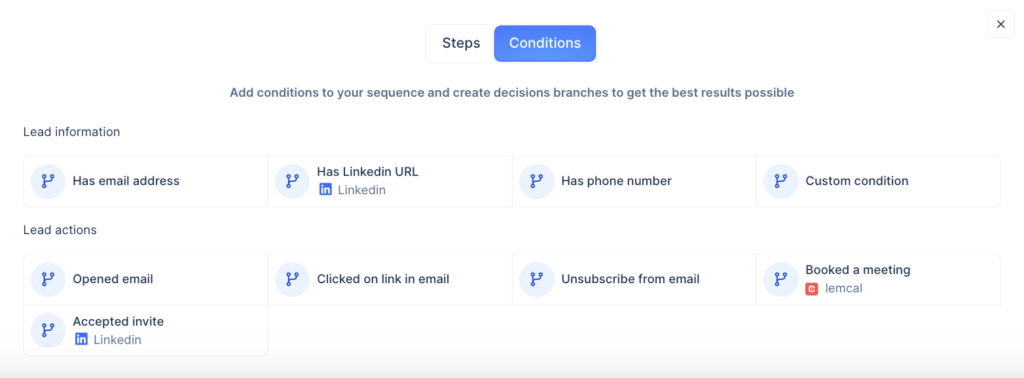
- For example, if the lead accepts a LinkedIn invite, they will follow the YES branch.
- If they don’t, they will stay in the NO branch.

You can adjust how long lemlist should wait for the condition to be fulfilled.
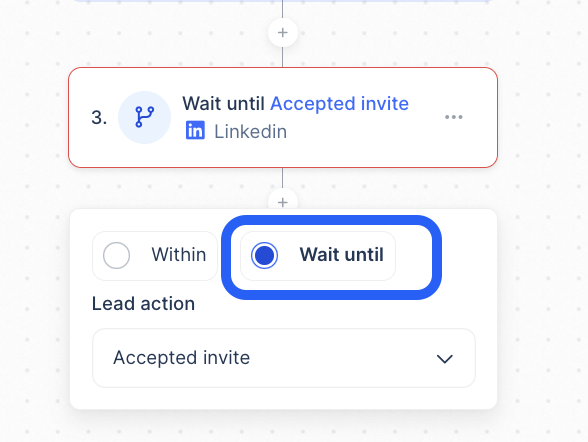
Wait until condition
The “Wait until” condition makes lemlist wait indefinitely until the condition is fulfilled. If the condition is never met, the lead will not proceed to the next step.
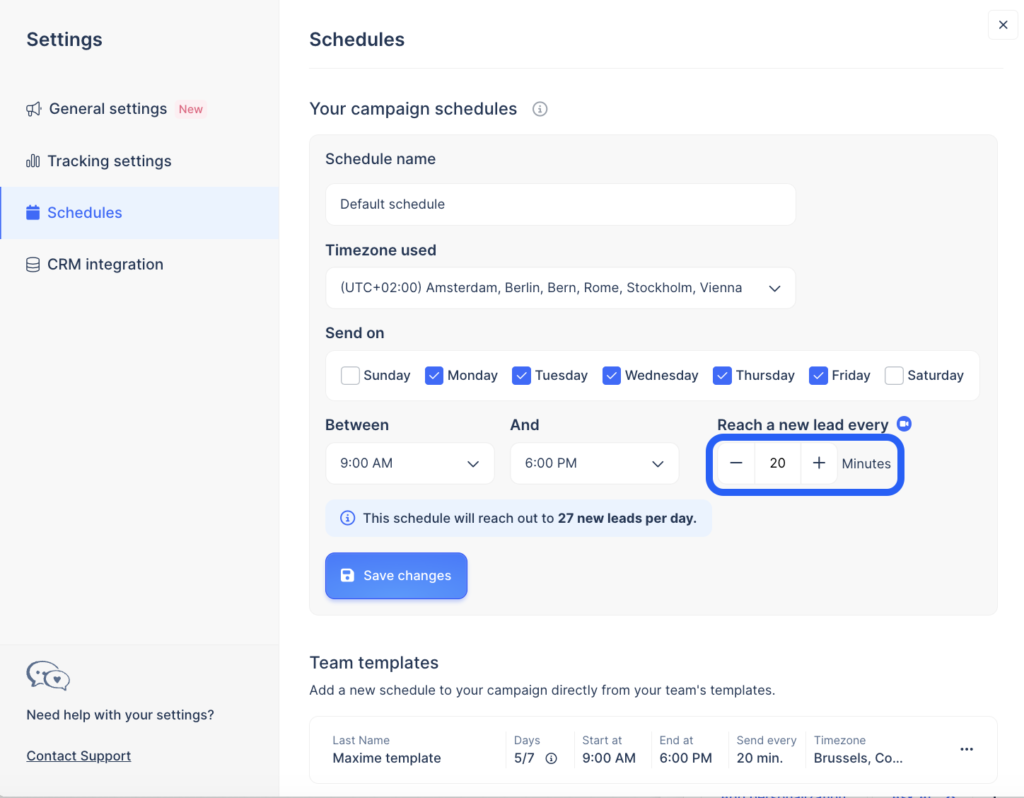
Campaign settings
Here, you can:
- Adjust the sending schedule.
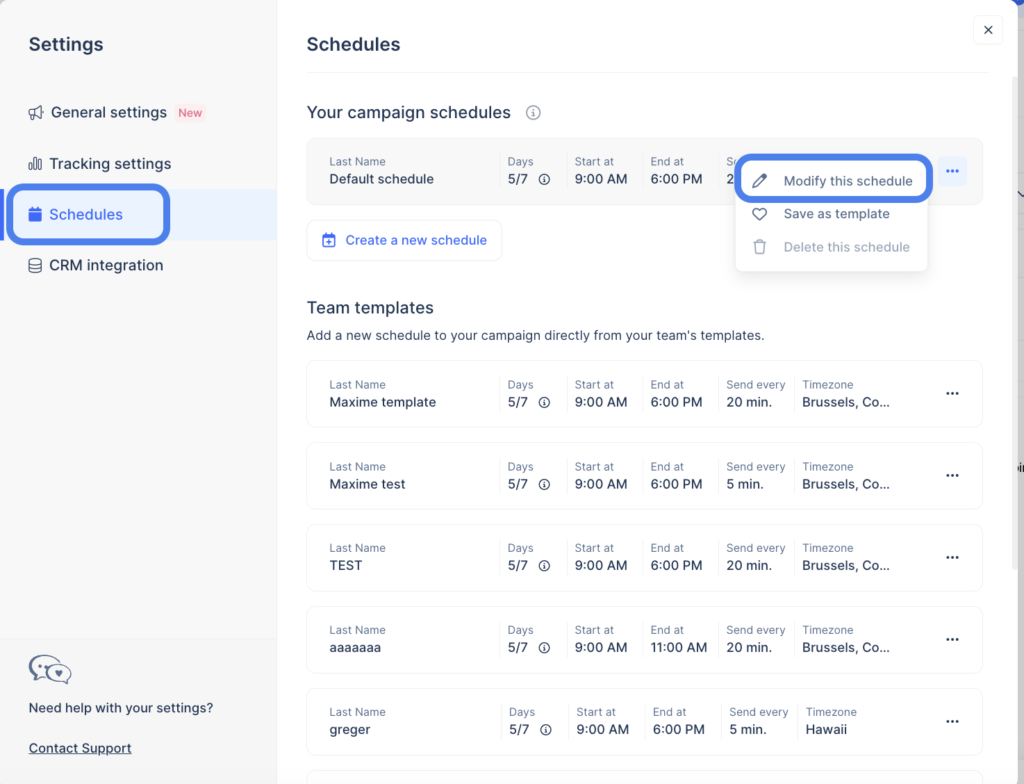
- Choose tracking options.
- Connect to a CRM.
- Add tags to your campaign.
The default sending schedule is Monday to Friday, 9 AM to 6 PM, in your time zone. You can edit this schedule at any time. Changes apply even after the campaign is launched.
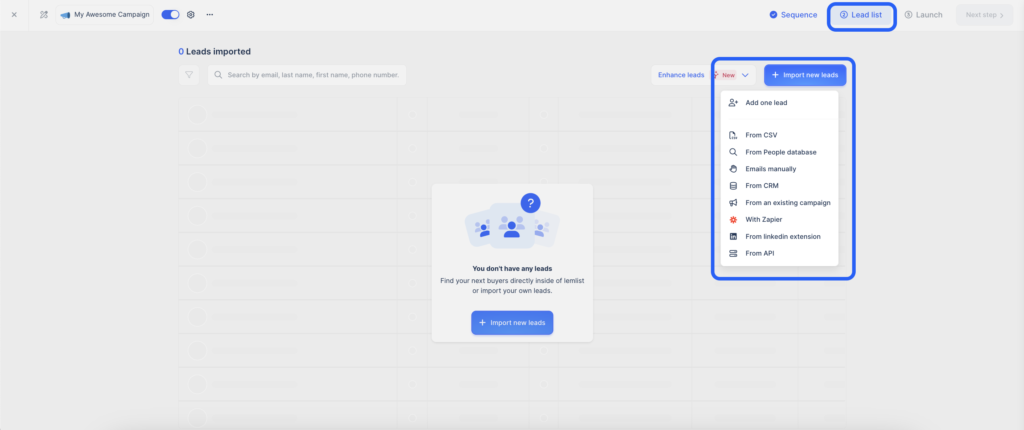
Uploading leads
You can upload leads from various sources:
- CSV files
- People database
- CRM
- LinkedIn extension
- Manually or from Zapier, API, or an existing campaign.
Launching your campaign
To launch the campaign:
lemlist will start sending according to your schedule, following its algorithms to protect your domain health and maximize deliverability.
Once launched, you can monitor your campaign’s performance in the reports section.
