Connect HubSpot to lemlist
lemlist integrates seamlessly with your CRM, making it easier to manage your leads and campaigns. When you connect lemlist with Hubspot, you can:
- Create new leads in Hubspot, no matter how you added them to lemlist. (CSV, API, LinkedIn extension, Zapier, manually, etc.).
- Add hot leads to Hubspot when they reply, click, or show interest in your campaigns.
- Update existing leads in your CRM with the latest activity from lemlist.
- Import leads from Hubspot to lemlist using filters.
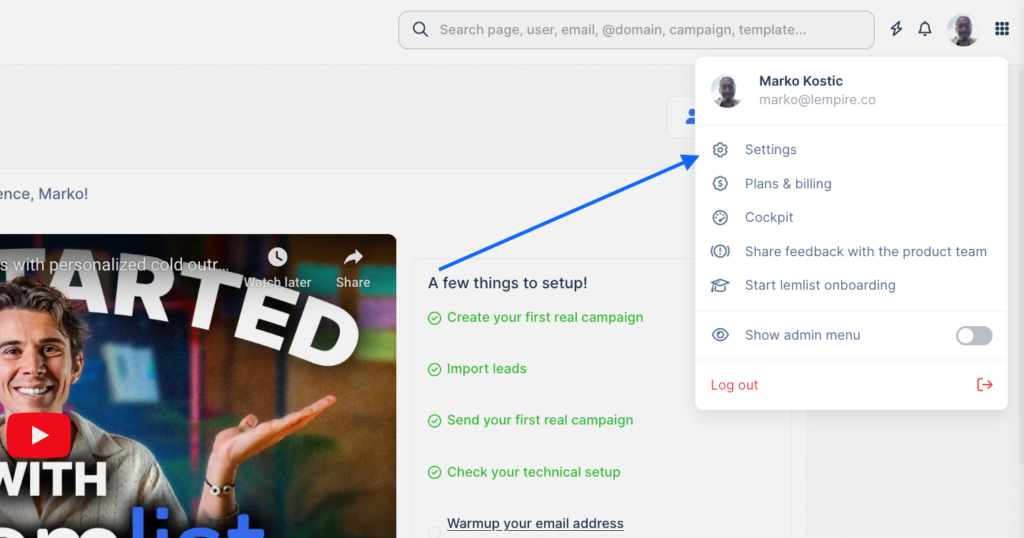
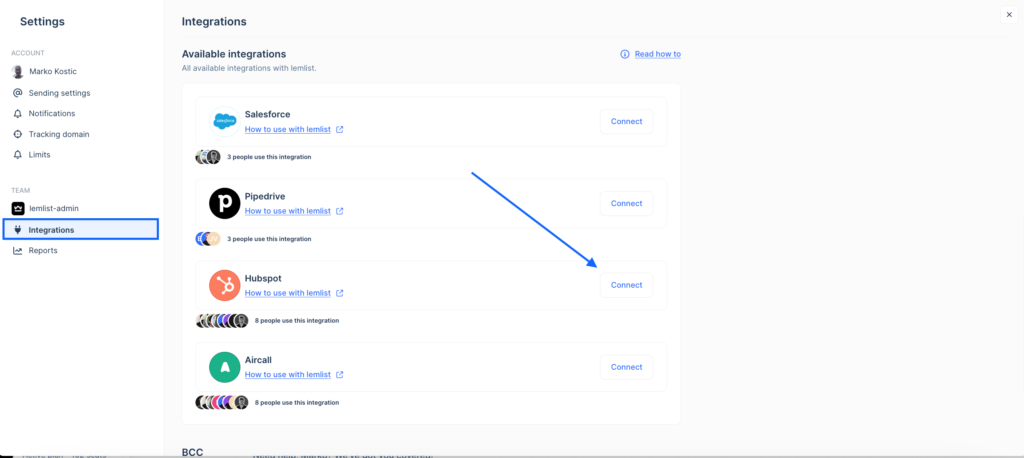
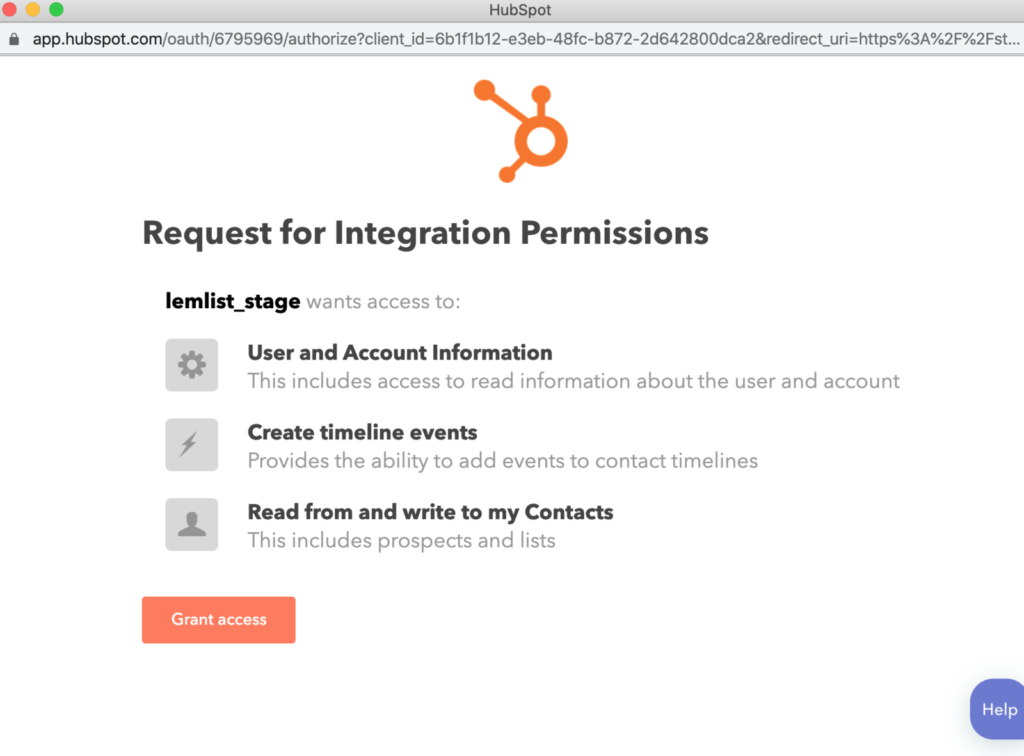
How to connect Hubspot with lemlist
How to import leads from Hubspot into lemlist
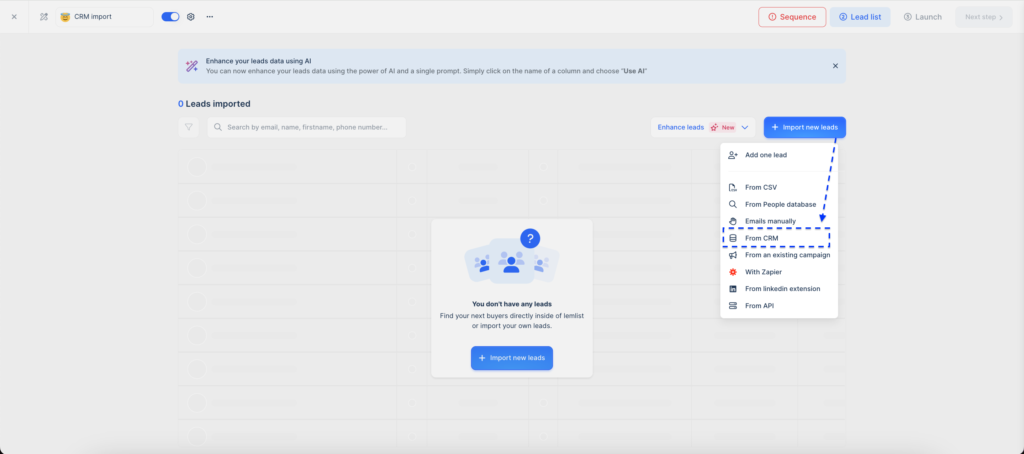
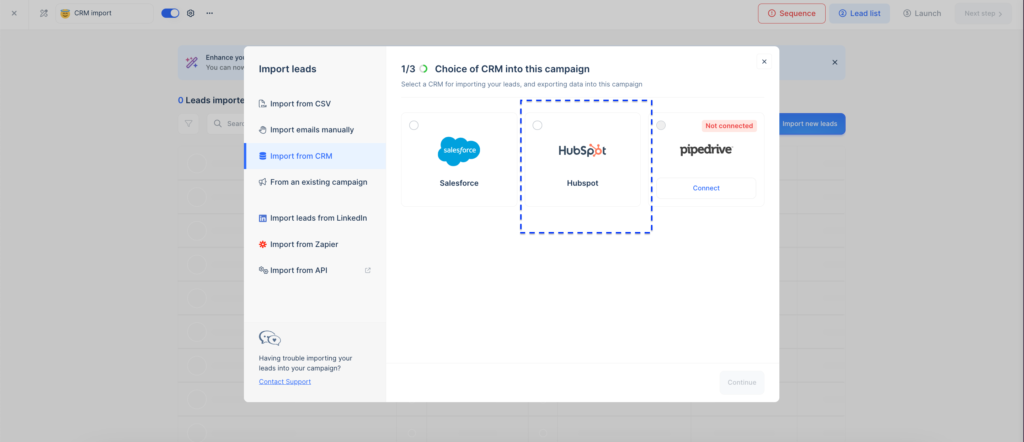
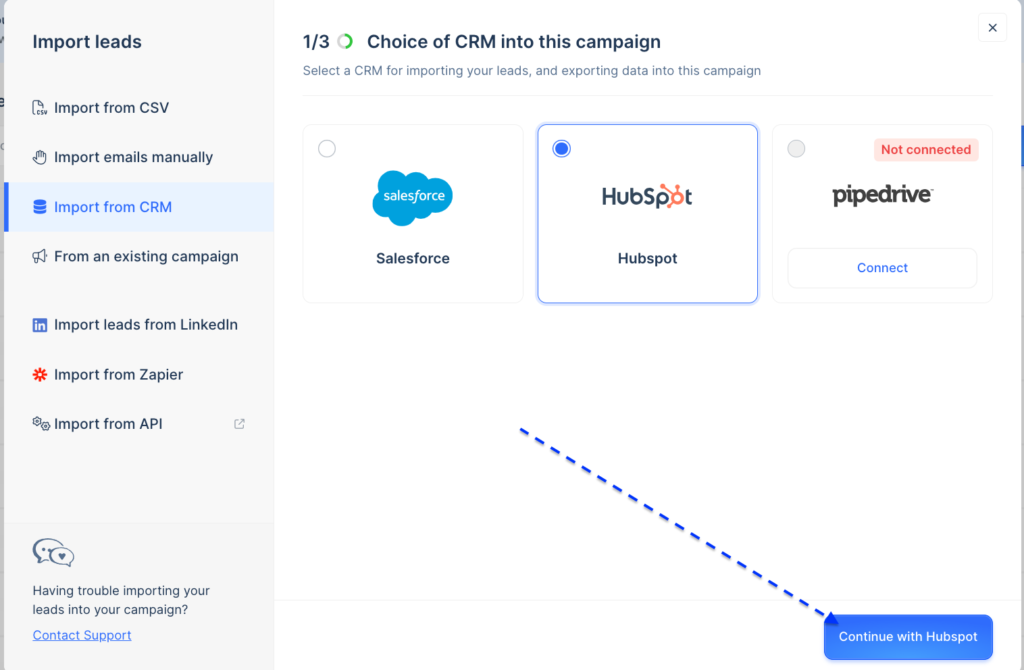
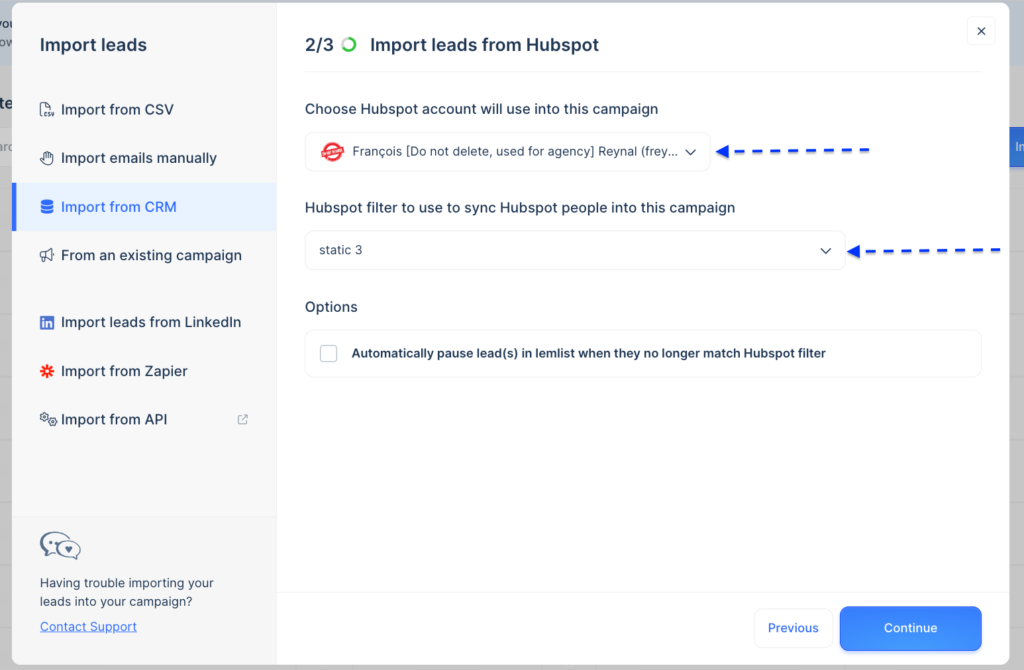
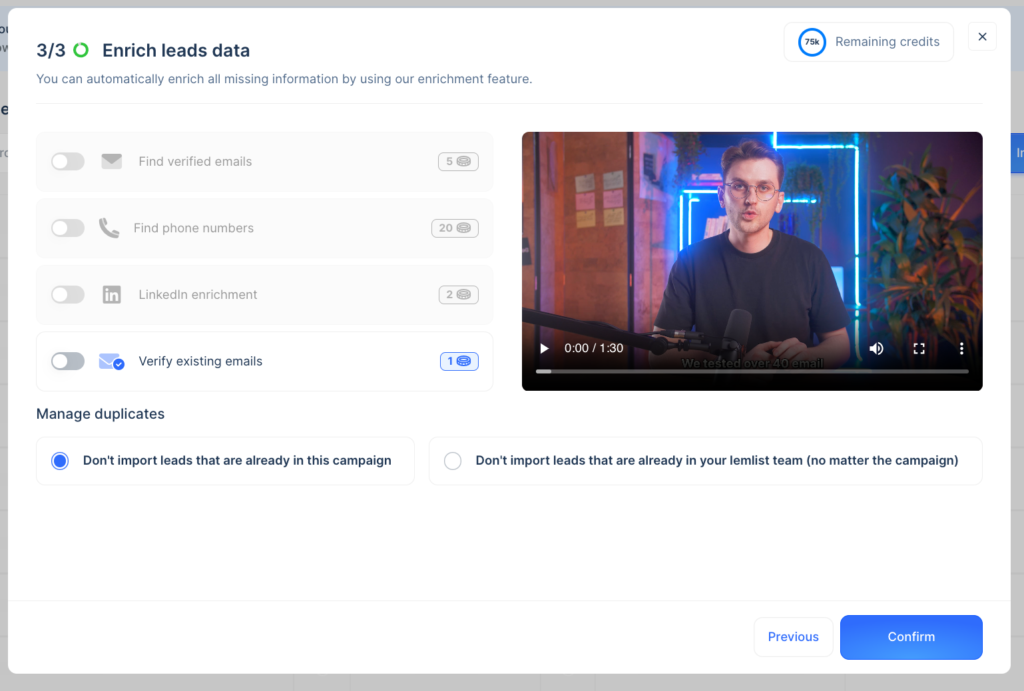
Important: You can’t combine CRM imports with other lead sources, and enrichment isn’t possible for leads from a CRM.
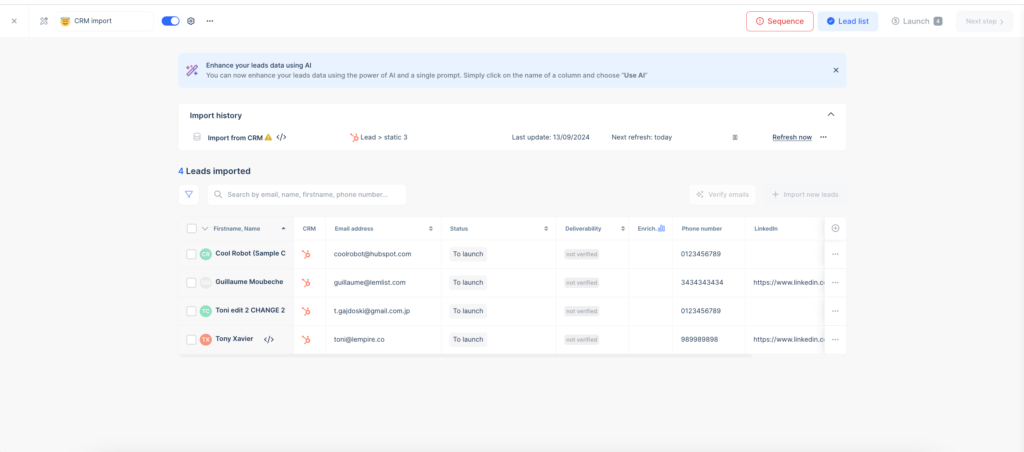
How to create a list in Hubspot
To import leads effectively, you must create lists in Hubspot:
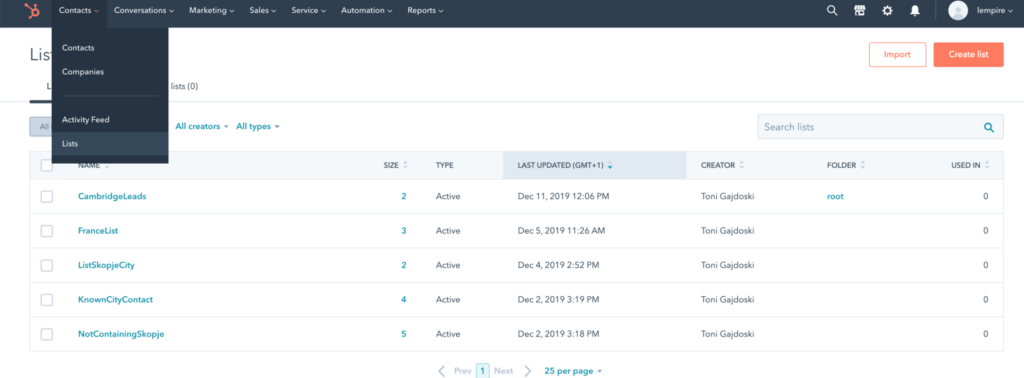


Hubspot variables and how to see them in lemlist
When you connect Hubspot to lemlist, these variables are automatically available:
- First name
- Company name
- Last name
- Phone number
- Mobile phone number
- Country/Region
- State/Region
- City
- Job title
- Salutation
- Gender
- Website URL
You can also create custom variables in Hubspot, and they will appear in lemlist.
Then you can choose the single row or multiple-row option.

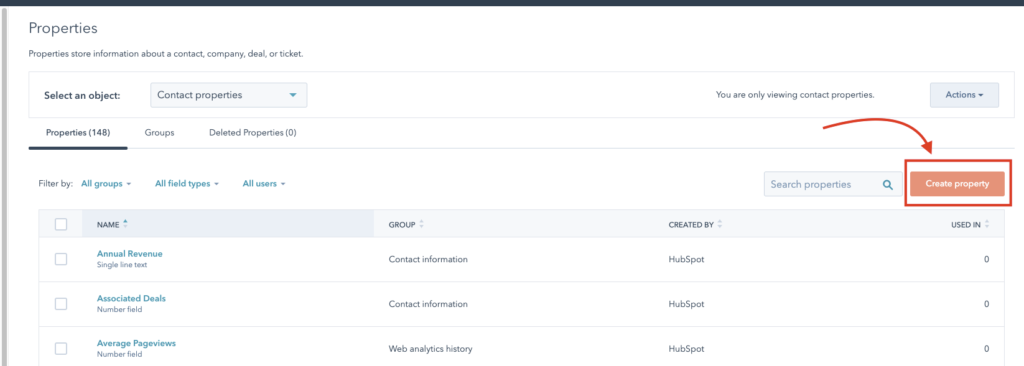


Note: Make sure you don’t exceed 400 characters in a multiple-line field.
Important: For the variable “linkedinUrl,” you need to name it exactly like that for lemlist to recognize it.
HubSpot uses both labels and internal names for fields, which can differ. For example, the label might be “linkedinUrl,” but the internal name remains the same as the original field name you created. This means the label and internal name can be distinct from each other.
When the field is created on HubSpot, the internal name is based on the label but cannot be edited in the future.
You need to:
- Check the internal name of your property (Settings => Properties)
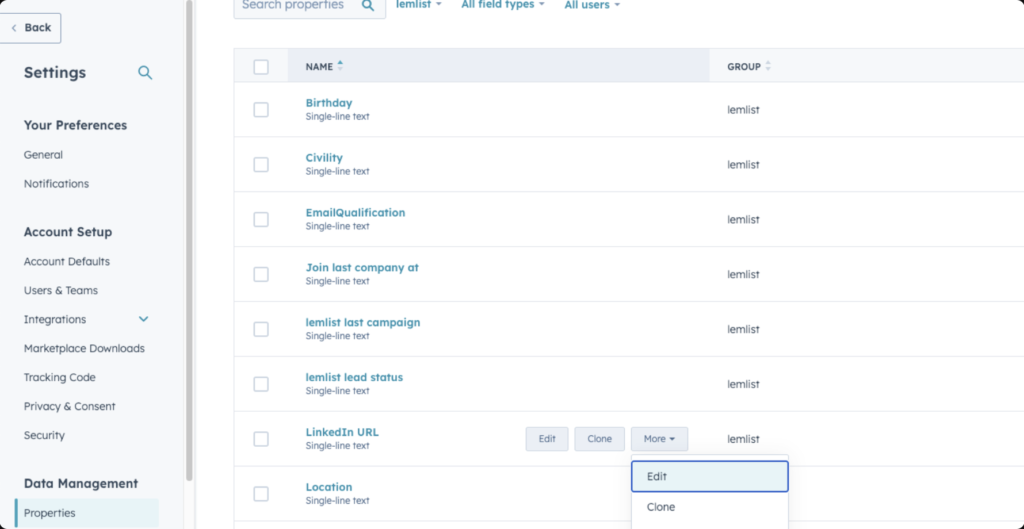
By clicking on </> icon, you should be able to see the internal name.
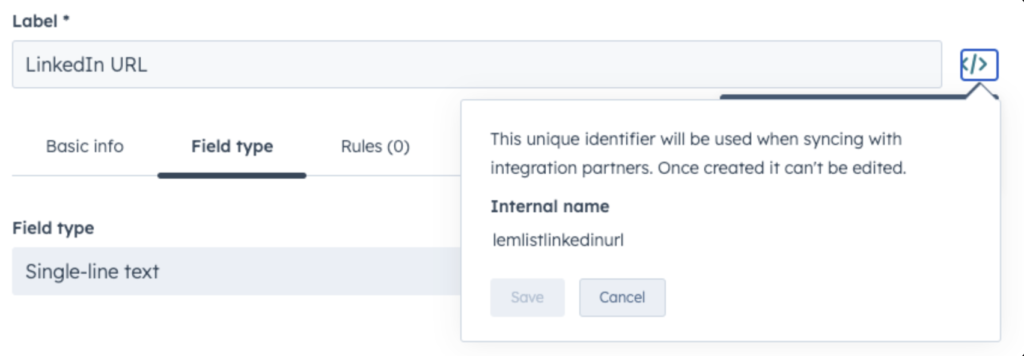
The internal name should be “lemlistlinkedinurl” or “linkedinurl” (yes, in lowercase because Hubspot phrases it in lowercase).
If you don’t have this, you must create the property again and be sure the internal name is one of these two.
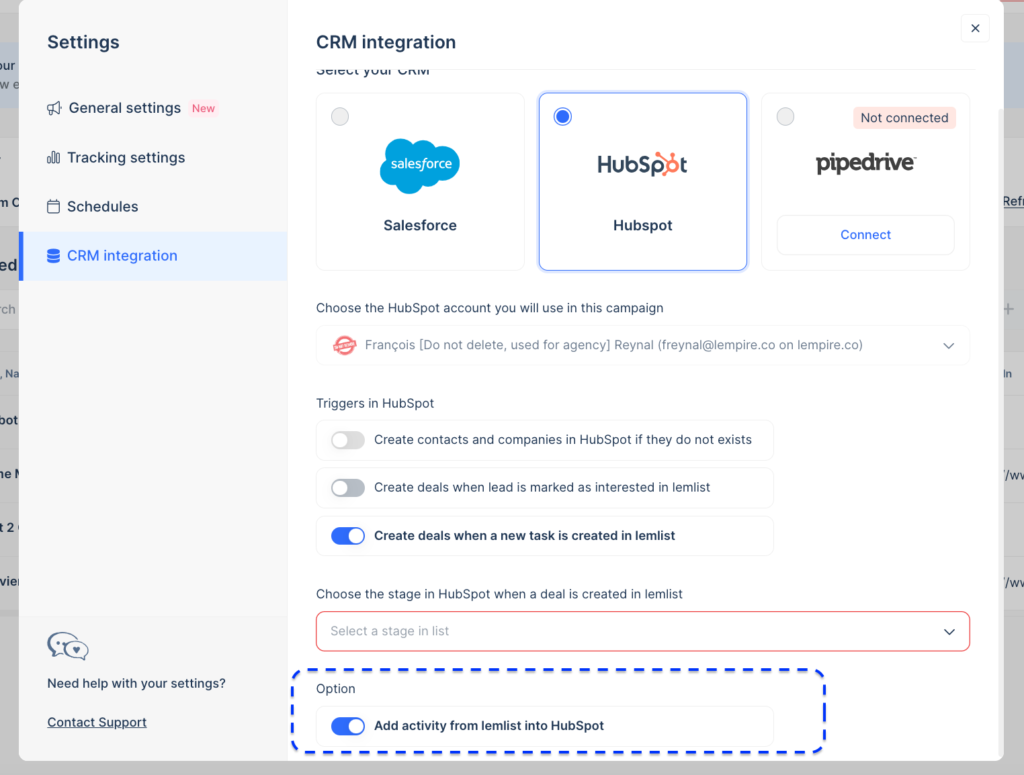
Setting up deal creation in Hubspot
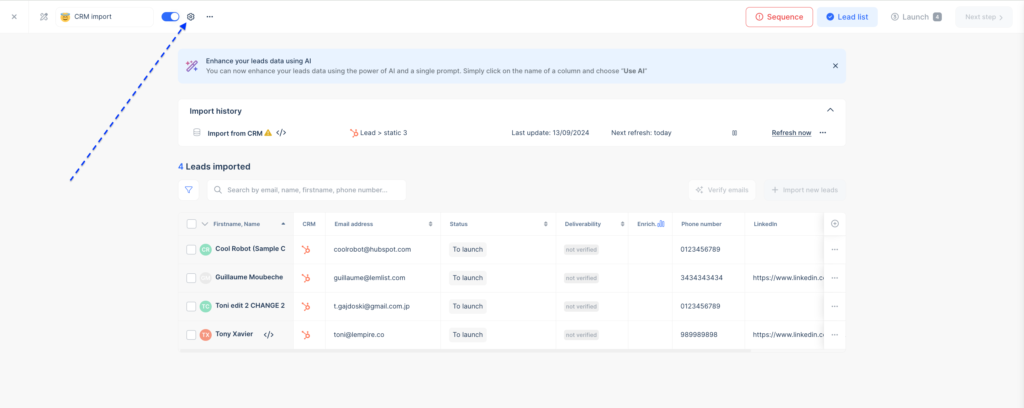
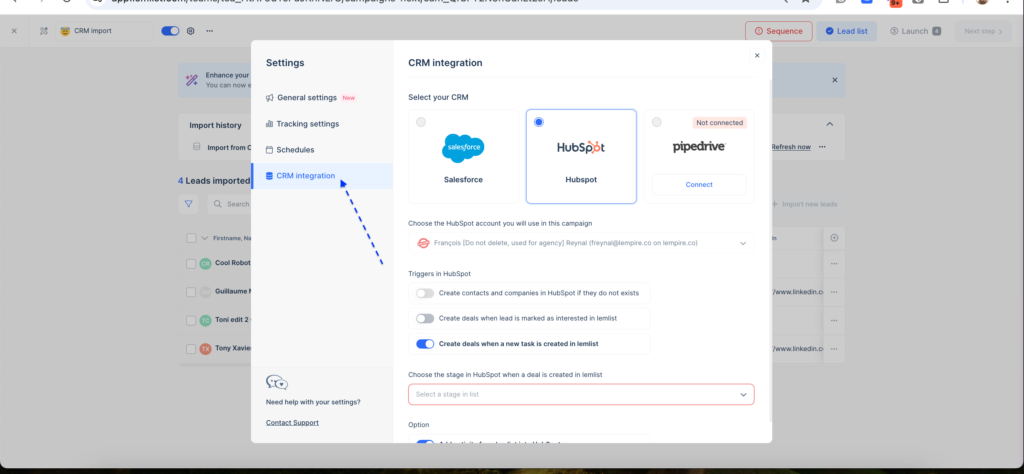
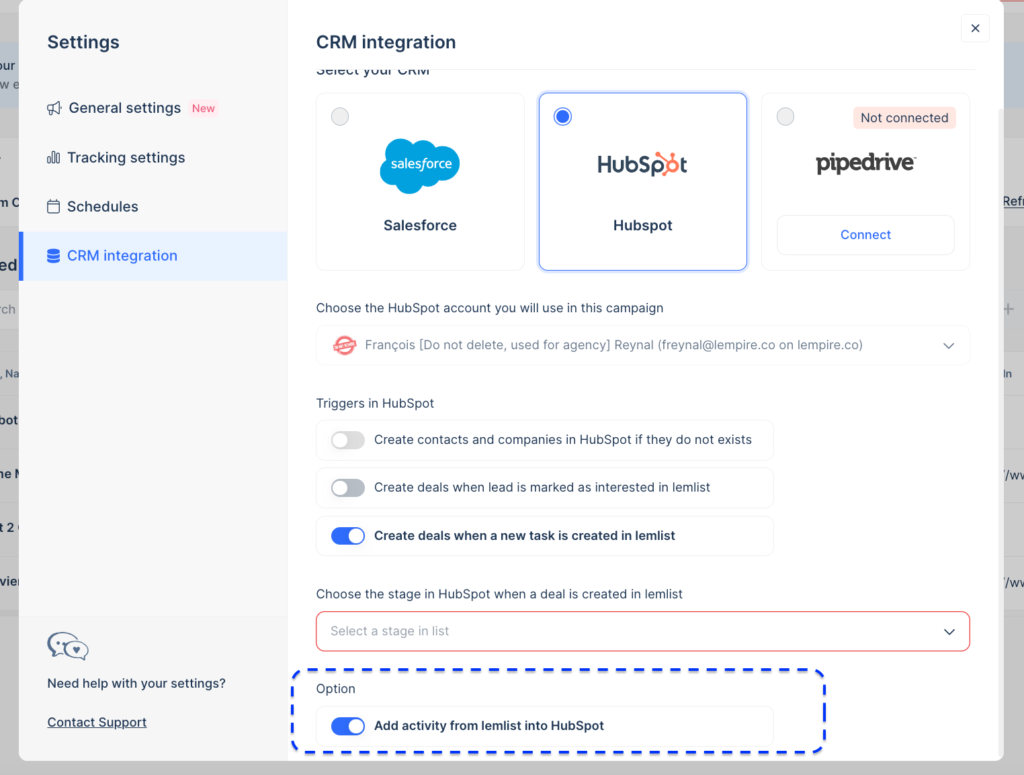
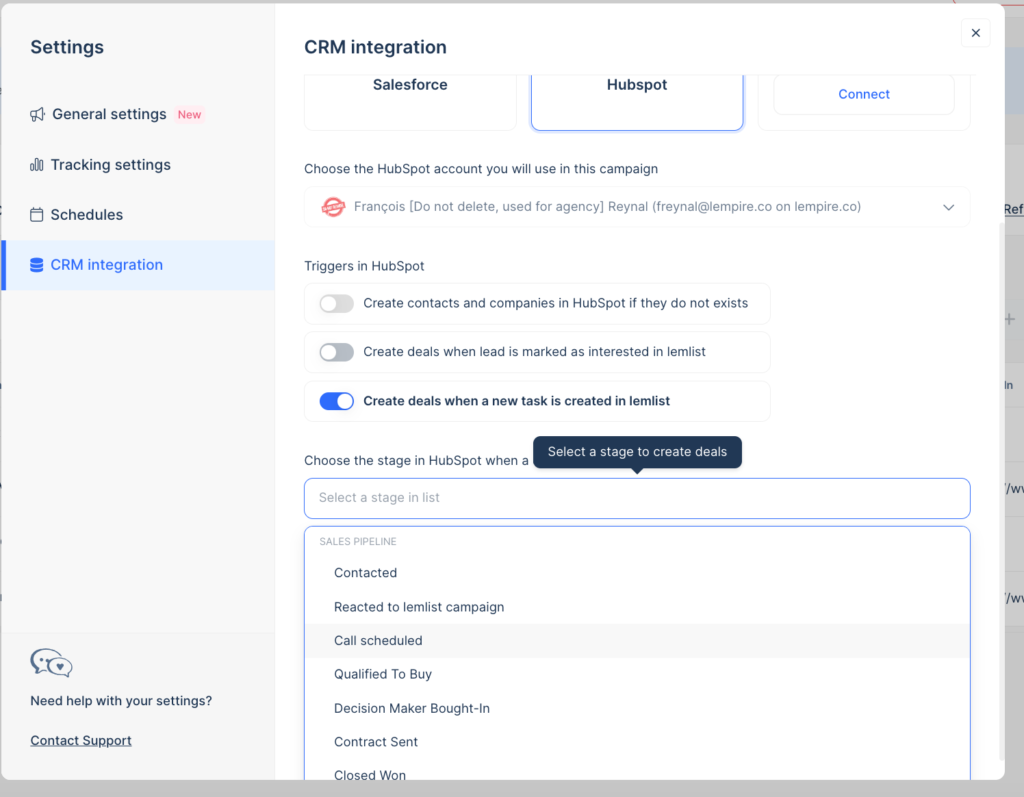
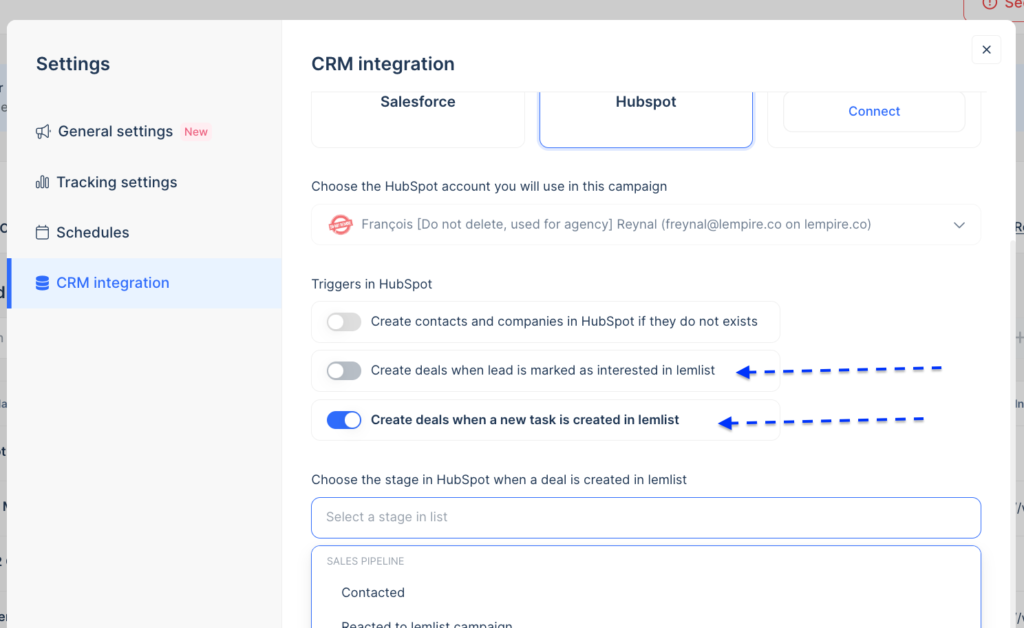
Note: that we only create deals, we do not move deals to another stage.
By default, a deal is created “when a new task is created in lemlist” and if the lead already exists in your CRM.
In case a lead is interested but didn’t reply by email, we also recommend you select:
“Create deals when a lead is marked as interested”
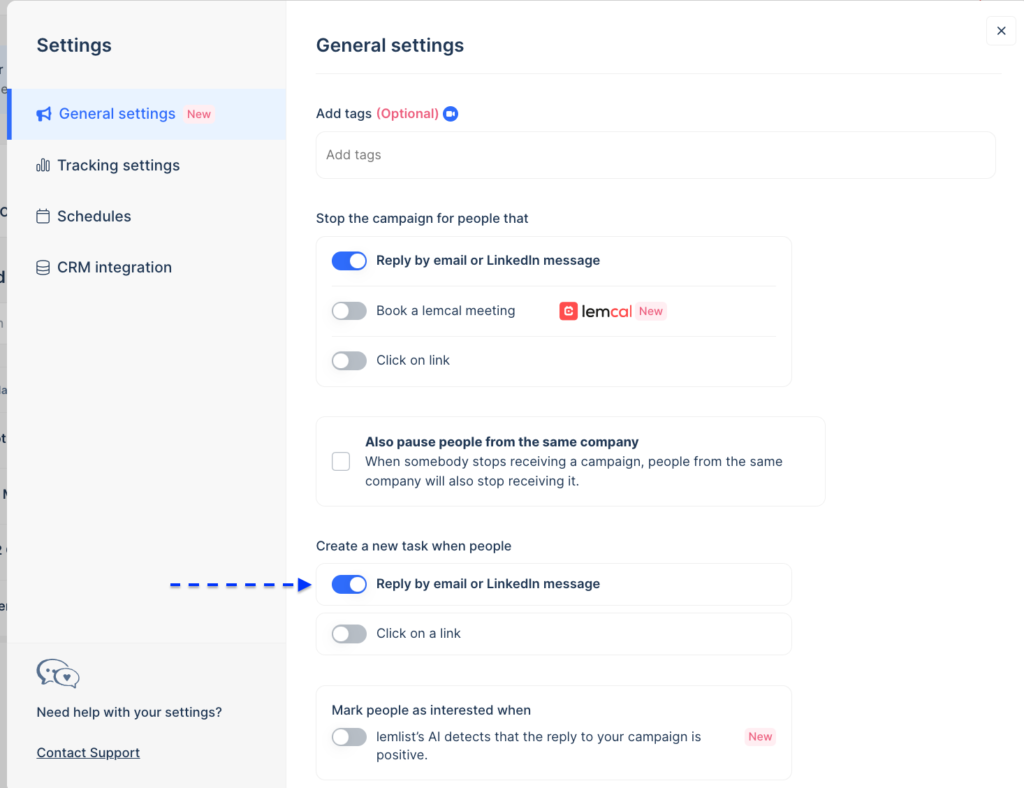
If you chose to create a deal when a new task is created in lemlist, make sure you tick the right box in your campaign’s settings:
Finally, if you want to stop the Hubspot integration for this campaign, you can do so by deleting the leads from the campaign, from the “Leads” section, like this:

Managing activities in Hubspot
All activities related to your leads (emails sent, opened, clicked, or replied) are automatically added to their Hubspot profile as notes.
You can switch this option off if you don’t want these updates:
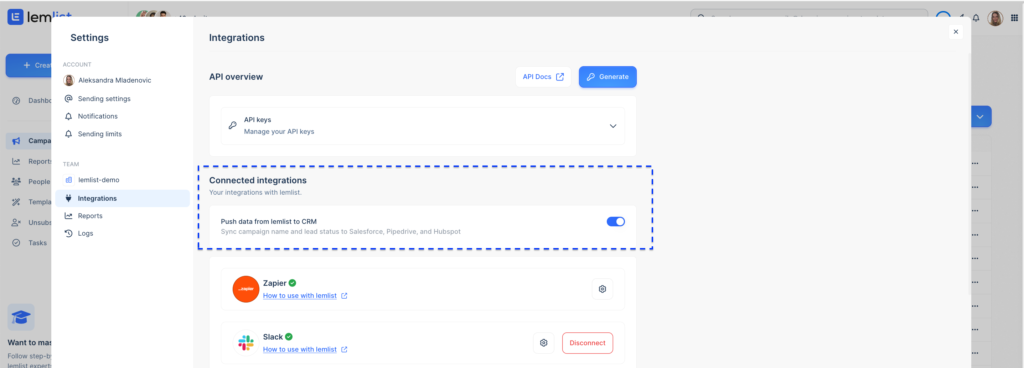
If you want to have the campaign’s name and lead status synced in your activities, enable the following feature in your general settings – integrations:
