Connect your email sending address in lemlist
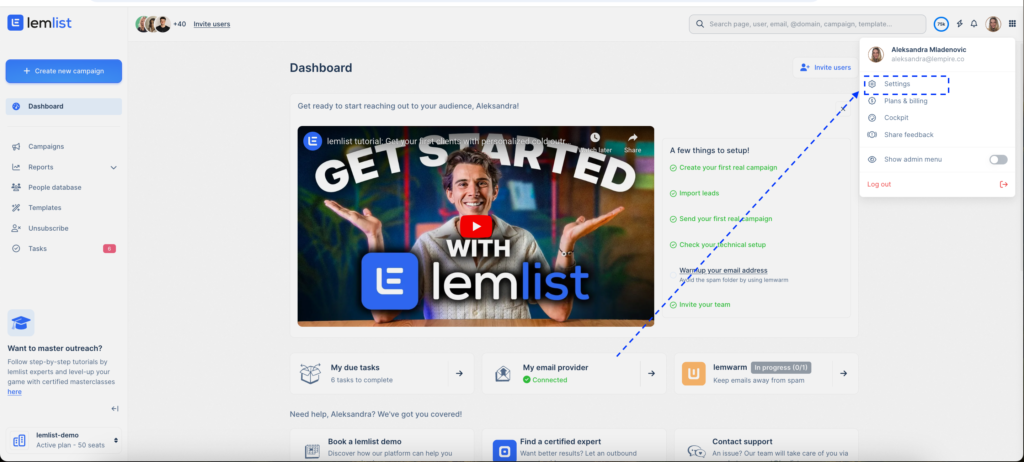
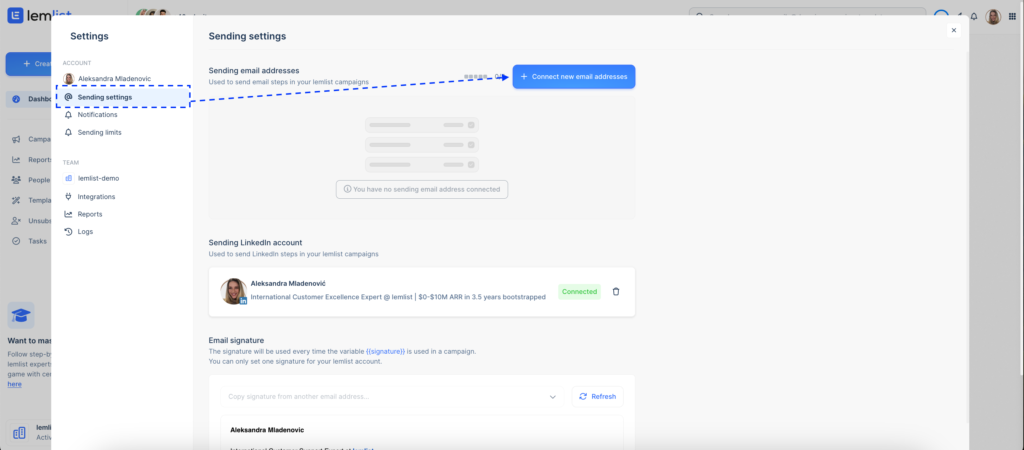
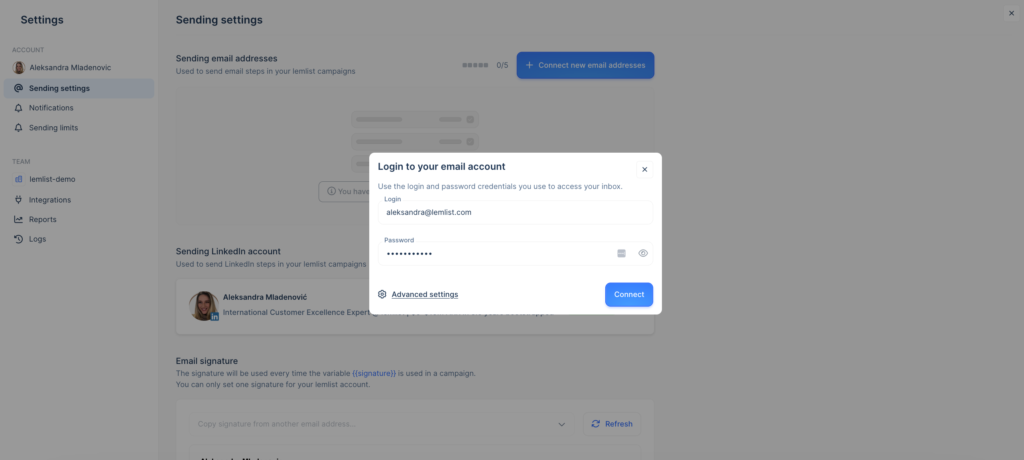
To send emails with lemlist, you need to connect your sending email address to lemlist first.
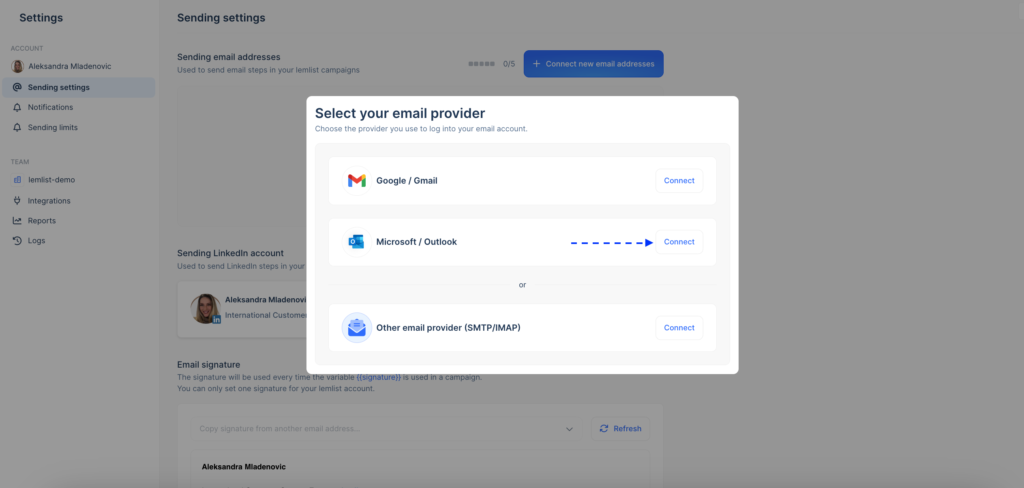
In following steps, you’ll get how to do it whether you use Gmail, Outlook, Zoho, or another provider via SMTP.
Finally, check out how to set up a professional email signature to build trust and boost credibility.
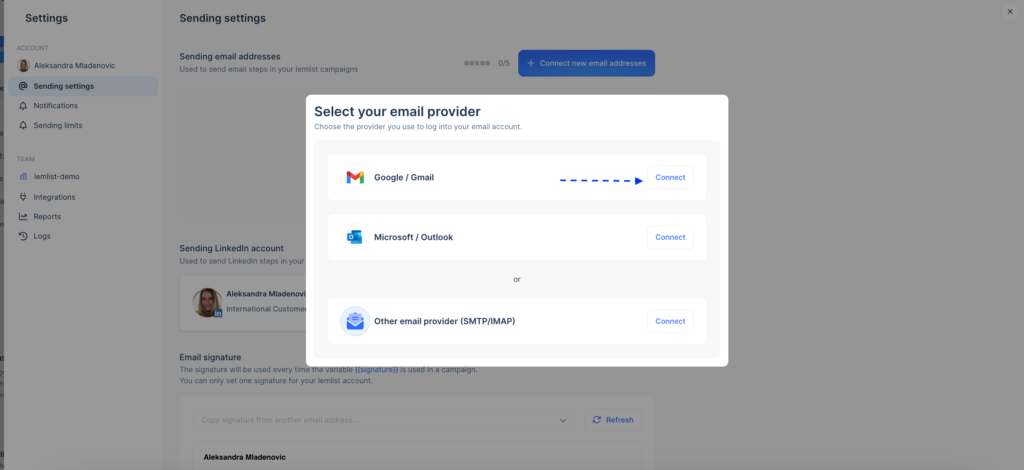
How to connect Google email adress (Gmail) in lemlist
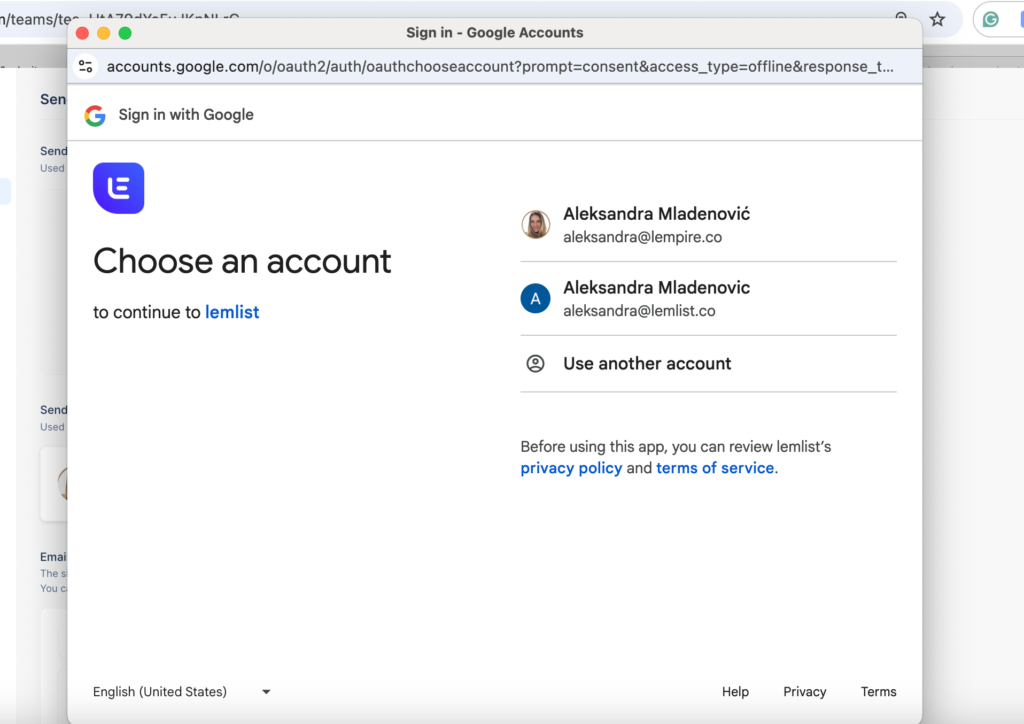
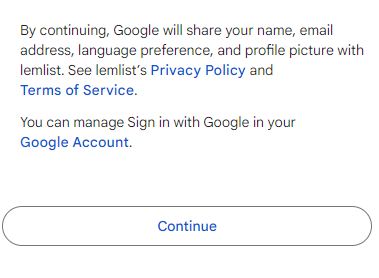
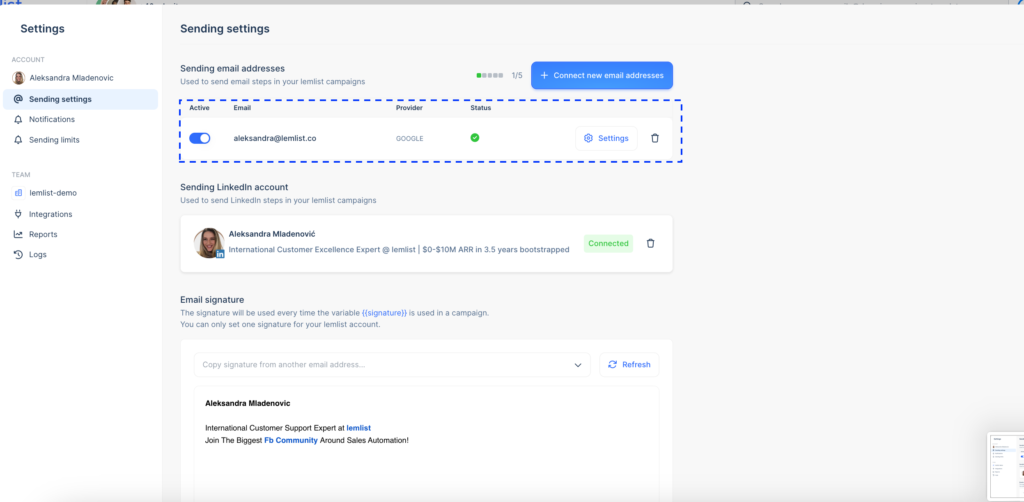
You will be redirected back to lemlist where your Gmail account will be listed under connected email accounts.
This means that you have successfully connected your email address as sending email address in lemlist.
Note: If you are using a Google Workspace (formerly GSuite) account, make sure that your admin has enabled third-party app access. Without this, lemlist won’t be able to connect to your email.
How to connect Microsoft (Outlook/Office 365) email address in lemlist
This means that you have successfully connected your email address as sending email address in lemlist.
You’ll be redirected back to lemlist, where your email will be successfully connected.
Note: If you’re using Office 365 for Business, your admin must have enabled access for third-party apps for this integration to work.
How to connect Zoho email address in lemlist

If you have Two-factor Authentication (2FA) on, you’ll have to replace your account password with an Application-specific password.
Here’s how to enable IMAP access for your email account:
- Login to Zoho Mail
- Go to Settings → Mail Accounts → Configure IMAP
- Under IMAP section, check the IMAP Access box
Configure Auto-Expunge and Folder View Settings:
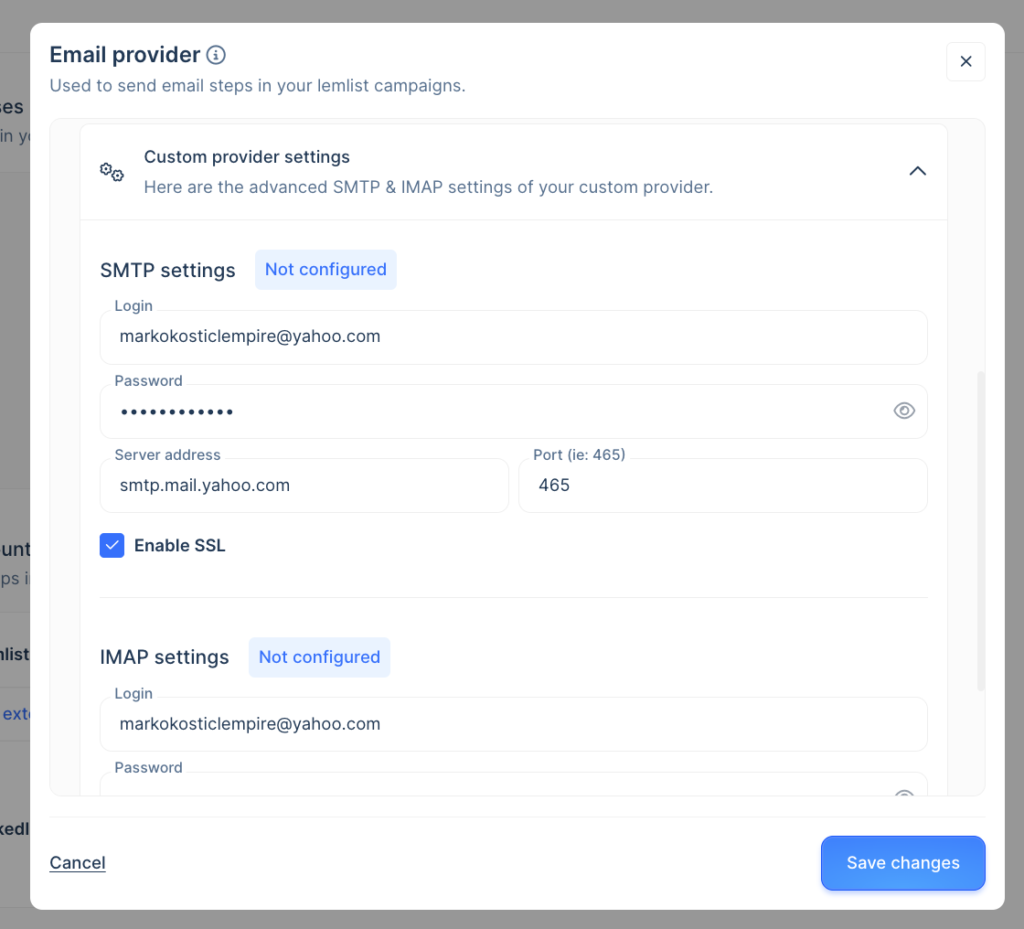
SMTP
- server: the smtp.zoho.com
- port: 465
- enable SSL: Yes
IMAP
- server: imappro.zoho.com (or imap.zoho.com for personal yourname@zoho.com)
- port: 993
- enable SSL: Yes
You can find more information on Zoho Mail – IMAP and SMTP Configuration Details here.
Note: If you’re facing any issues during setup, ensure that API access is enabled in your Zoho account. Some email providers, like Zoho, may block third-party app access unless explicitly allowed.
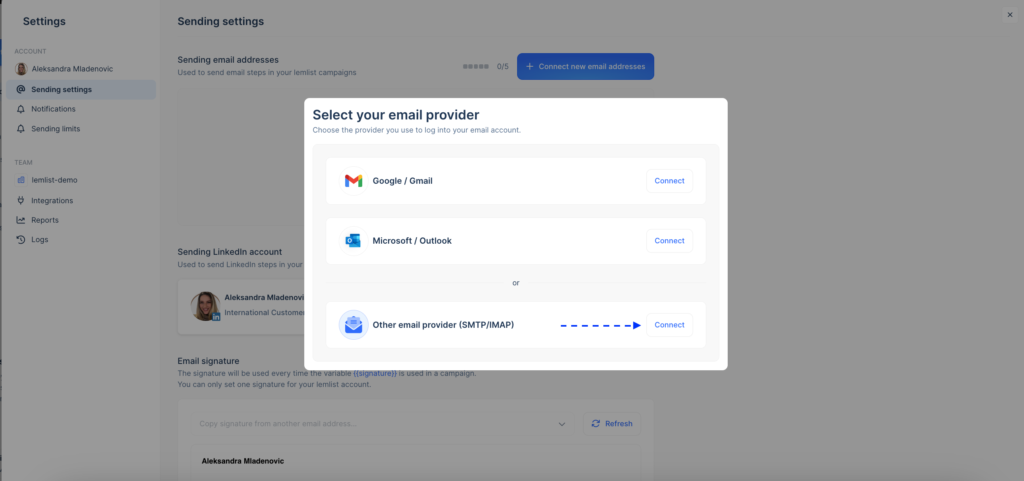
How to set up sending email of another provider (IMAP/SMTP)
For email providers other than Outlook or Google, you can manually configure your account using SMTP and IMAP settings.
Before getting started, note that you can’t use following SMTP providers in lemlist:
- Sendgrid
- Mailgun
- Sendinblue ( Brevo)
- Mailjet
- O2switch
- AmazonSES
- Postmark
- Cloudmark
- Hostgator
SMTP Server: This is the outgoing mail server address (e.g., smtp.yourprovider.com).
SMTP Port: Usually 587 (for TLS) or 465 (for SSL).
Email Address: Your full email address (e.g., you@yourdomain.com).
Password: Your email account password or an app-specific password (if required by your email provider)
Note: If you’re unsure about your SMTP settings, you can typically find them in your email provider’s documentation or control panel. If you’re using a custom domain, your hosting provider should have the relevant information available.